“How long does it actually take?” — we hear this in almost every first conversation. The honest answer: it depends. A standard lab container with basic equipment is ready in 12 weeks. A BSL-3 laboratory with cleanroom technology and specialist equipment needs 20 weeks or more. But the span of time alone says little. What matters is what happens in each phase — and how thoroughly you prepare.
In this article we take you through the complete process of a lab container project. From the first idea via technical planning to turnkey handover. Not theory, but practice — based on the projects we actually deliver as Planexus GmbH.
At a glance: the five project phases
Phase 1: Needs analysis and initial consultation
Every project starts with a conversation. And that conversation matters more than most people think. In the needs analysis we clarify the fundamental questions that determine the entire course of the project:
Core questions in the needs analysis
- Intended use: What work will be carried out in the laboratory? Chemical analytics, microbiological testing, quality control?
- Biosafety level: Is an S1, S2 or BSL-3 laboratory required?
- Space requirement: How many workstations? Which instruments need to be housed?
- Site: Where will the container stand? What are the access routes? Which utility connections (power, water, drainage, gases) are available?
- Timescale: When must the laboratory be operational? Are there hard deadlines (project start, funding windows)?
- Duration of use: Temporary (6–24 months) or permanent? This strongly influences the rent or buy decision.
Why is Phase 1 so decisive? Because this is where the course is set. An unclear brief leads to unclear planning — and that leads to delays and extra cost. The more precise the needs analysis, the smoother everything that follows.
At Planexus every project begins with a complimentary initial consultation. As a rule, a thorough telephone or video call is enough to capture the key data. For more complex schemes — for example a GMP cleanroom laboratory — we also recommend a site visit to assess the location and the connection situation in person.
Practical tip
If possible, bring a site plan of the installation location to the first meeting. Markings for existing utility connections and access routes save a great deal of time in the planning phase. If you already have a specification or an equipment list — so much the better.
Outcome of Phase 1
At the end of the needs analysis sits a requirements specification — a document that brings together all requirements, constraints and objectives. This specification is the foundation for all further planning. It contains:
- Usage profile and laboratory type
- Biosafety level and regulatory requirements
- Area and room programme
- Technical requirements (climate control, ventilation, media)
- Site conditions and connection situation
- Outline timeline and budget envelope
Phase 2: Technical planning and detailed concept
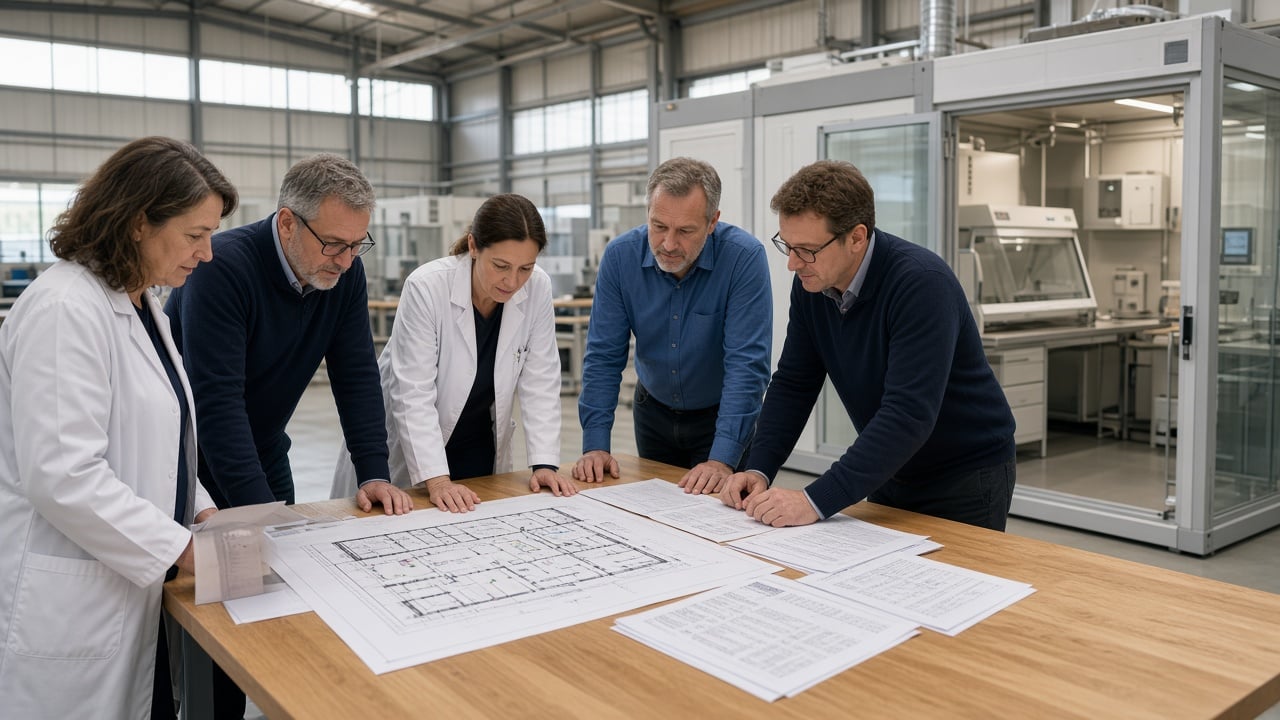
With the requirements specification in hand, the actual technical planning begins. Here an idea becomes a concrete design. This phase is the most labour-intensive — and at the same time the one with the greatest influence on the end result.
Floor plan and spatial concept
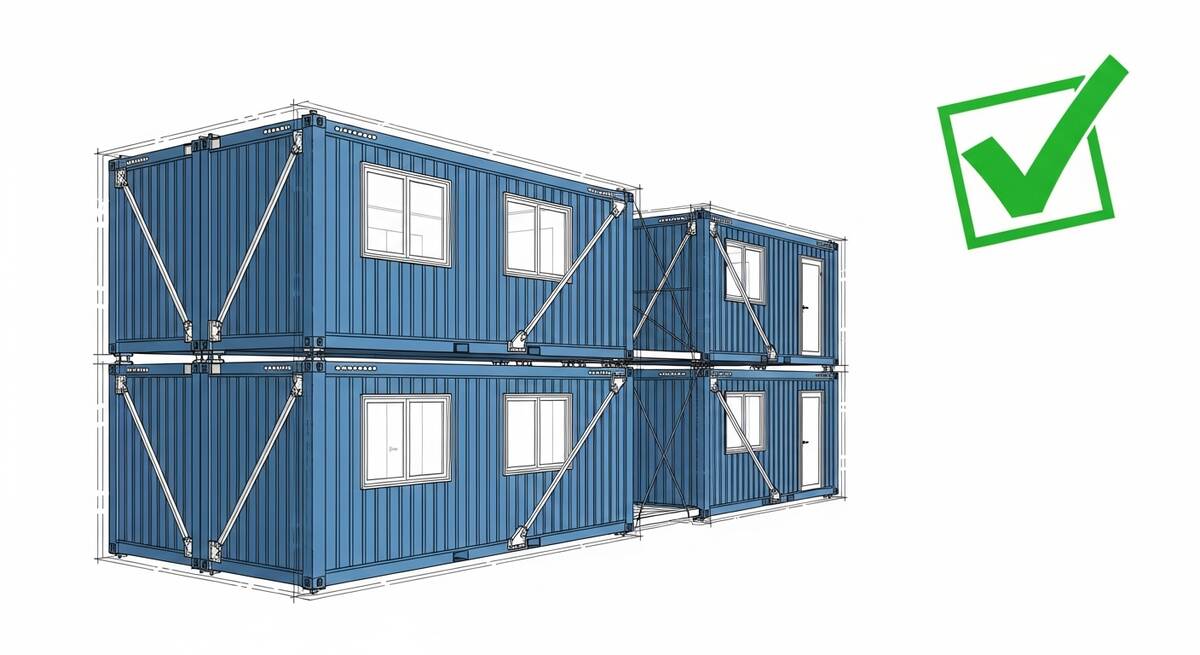
The floor plan is the heart of the design. It determines how efficiently people can work in the laboratory. This is about more than square metres: circulation routes, workstation layout, instrument positions, airlock concepts and escape routes must all be coordinated. A lab container is based on modules — typical base sizes are 6 × 3 m, 9 × 3 m or 12 × 3 m. By lining up and connecting several modules, larger laboratory areas can also be created.
The modular principle offers a decisive advantage: the room layout can be arranged flexibly. Laboratory, airlock, store and office can sit in separate modules and still be joined into a contiguous unit. You can read more in our article on innovation in modular construction.
Building services (MEP)
In parallel with the floor plan, the building-services concept is developed. This is where we plan what sits beneath the surface — and in a laboratory that is substantial:
Ventilation & climate control
- Room-air temperature and humidity control
- Pressure cascades for containment laboratories (positive/negative pressure)
- HEPA filtration for cleanroom requirements
- Extract concept for fume cupboards (DIN EN 14175)
Electrical & media supply
- Power and extra-low-voltage distribution
- Ultrapure water (Type I/II), potable water, drainage
- Technical gases (nitrogen, compressed air, specialist gases)
- IT infrastructure and Smart Lab networking
Laboratory equipment and furniture
In parallel with building-services design, the laboratory equipment is configured. Benches, fume cupboards, cabinets, sinks, safety installations — every element must fit the workflow. As part of Wesemann Holding GmbH we have direct access to one of Europe’s leading laboratory furnishers. That simplifies coordination considerably and saves valuable time.
What many clients underestimate: the choice of surface materials has a direct effect on operating costs. Acid-resistant ceramic worktops, dissipative PVC floors, melamine-resin-coated walls — the right combination depends on the substances used in the laboratory.
Standards and regulations
A lab container must meet the same regulations as a stationary laboratory. Depending on use, various standards and codes of practice apply:
- DIN EN 14175 — Fume cupboards for laboratories
- DIN 1946-7 — Room-air technology in laboratories
- Laboratory guidelines (ASR A1.2/1,2) — Safety requirements
- TRGS 526 — Laboratories: protective measures when handling hazardous substances
- GenTSV — Genetic Engineering Safety Ordinance (for S1–S4)
- EU GMP Guide — for pharmaceutical use
- DIN EN ISO 14644 — Cleanroom classification
Compliance with these standards is not optional; it is mandatory. An experienced planner knows the requirements and builds them into the design from the outset. Retrofit adjustments are involved and expensive.
Outcome of Phase 2
At the end of technical planning the following are in place: detailed design with floor plans and sections, building-services concept, equipment lists, material data sheets and a detailed cost estimate. Only once the client has approved this package does work proceed.
Phase 3: Permits and building law
Building permits are one of the most common misunderstandings around lab containers. Many assume that a container needs no permit. That is not the case.
When do you need a building permit?
The permit requirement is governed by the building regulations of the relevant German federal state. In principle: as soon as a container is installed for longer than three months or exceeds a certain size, a building permit or at least a building notification is required. The details vary from state to state.
In Switzerland the cantonal building laws apply; in Austria the respective state building codes. The underlying principles are similar, but procedures and timescales can differ considerably.
Typical permit documents
- Building application with site plan (1:500)
- Floor plans, elevations, sections (1:100)
- Building description and usage concept
- Structural stability report
- Fire-protection concept
- Drainage application (for laboratory wastewater)
- Sound-insulation report (for ventilation plant)
- BImSchG notification where hazardous substances apply
Running activities in parallel saves time
An experienced project partner knows that permitting and manufacture can overlap in part. While the building application sits with the authority, workshop drawings can already begin. Manufacture itself, however, starts only after the permit is granted — anything else would be a financial risk.
Planexus supports you throughout permit planning. We prepare the required documents, coordinate with specialist planners (structure, fire protection) and accompany the process through to the building permit.
Phase 4: Manufacture in the factory
Once planning is approved and the permit granted, manufacture begins. And this is where a key advantage of modular construction over conventional laboratory building becomes clear: the entire production takes place under cover in the factory, under controlled conditions.
What happens in the factory?
Manufacture of a lab container follows a structured sequence:
Steelwork and shell
Load-bearing structure of steel sections, floor, wall and ceiling elements. Fire-protection coatings and corrosion protection.
Insulation and envelope
High-performance insulation (PUR/PIR), vapour barrier, façade cladding. Energy-efficient materials reduce later operating costs.
Technical installation
Electrical installation, ventilation plant, sanitary, media supply. Everything is installed and tested in the factory — not on the construction site.
Interior fit-out
Wall coatings, floor finishes, ceiling linings. Laboratory-specific requirements: acid-resistant, dissipative, disinfectable.
Laboratory furniture and equipment
Laboratory benches, fume cupboards, cabinets, sinks, safety equipment (eyewash, emergency showers, fire extinguishers). Everything is installed and adjusted.
Factory acceptance (FAT)
Factory Acceptance Test: functional check of all systems, leak tests, electrical testing. The client can be invited to the factory acceptance.
Quality assurance during manufacture
A lab container is not an office container. The quality requirements are far higher. Seamless wall junctions, tight penetrations for media lines, correct pressure regimes — every detail counts. That is why inspection takes place in several stages: after the shell, after technical installation and before dispatch.
On request we invite you to the factory acceptance. There you see your container in its finished state, can check final details and receive a comprehensive acceptance report.
Why factory manufacture is a quality advantage
Unlike conventional construction, manufacture takes place under controlled conditions: consistent temperature, no weather influence, trained specialist staff. The result: higher build quality, less rework and a binding delivery date — a luxury that traditional construction rarely offers.
Site preparation in parallel with manufacture
While the container is being built in the factory, the installation site is prepared. This includes:
- Foundation works (strip foundation, pad foundations or slab — depending on the ground)
- Provision of utility connections (power, water, drainage, gases if required)
- Preparing access routes for heavy transport
- Setting up a crane pad if required
Site preparation is generally the client’s responsibility. Planexus provides the technical specifications and can recommend civil-engineering partners if needed.
Phase 5: Delivery, installation and handover
The day everything has been working towards: the container arrives. And compared with conventional laboratory construction, what happens now is remarkably fast.
Transport and logistics
The logistics of a lab container are not a standard shipment. Depending on module size and weight, low-loaders, heavy-goods vehicles or even special transports are used. The route is planned in advance: bridge heights, turning radii, road widths — everything must fit. Special transports require permits and, where necessary, a police escort.
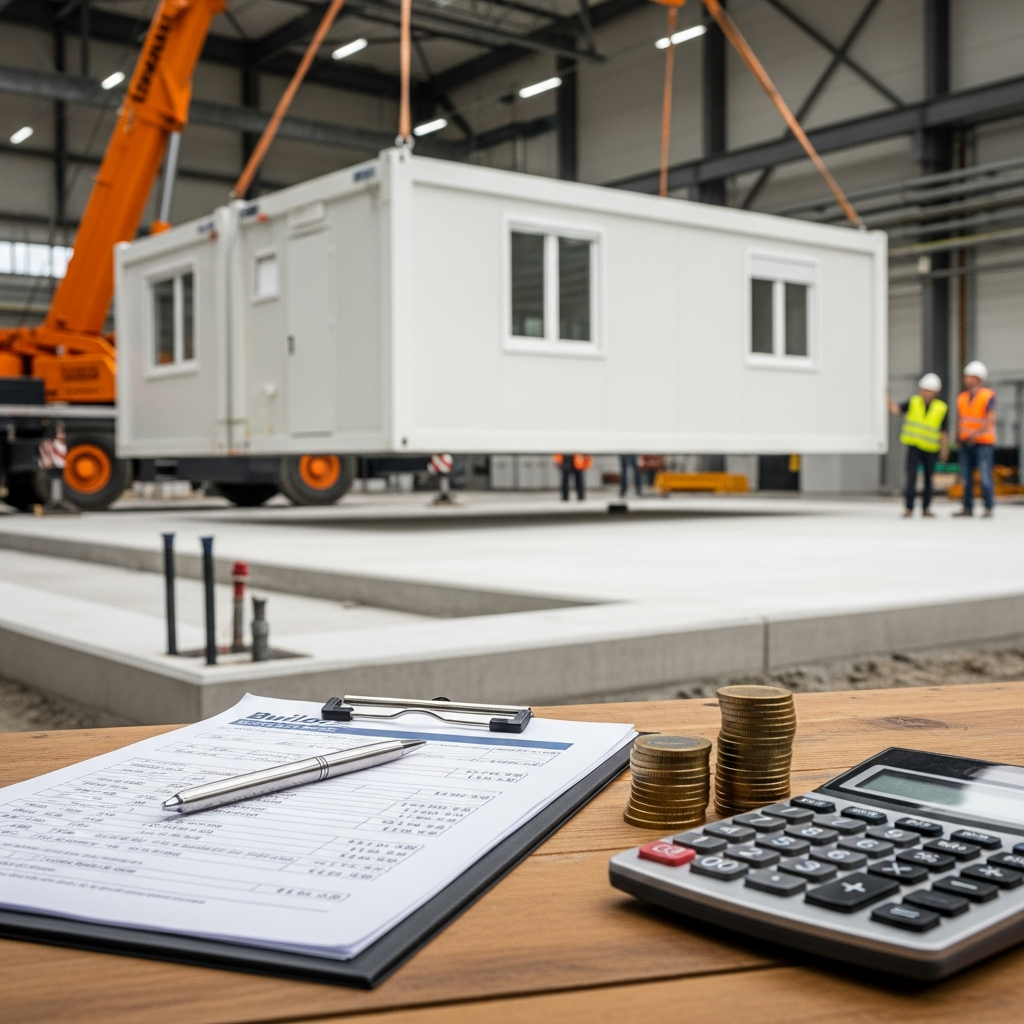
On site the container is positioned by mobile crane. For multi-part installations the modules are connected, joints sealed and the internal links between units established.
Installation and commissioning
On-site installation typically takes only a few days — a fraction of what a conventional build would require. The works include:
- Positioning and aligning the modules on the foundation
- Connecting the modules to one another (mechanically and technically)
- Connection to the building-side utilities (power, water, drainage, IT)
- Commissioning of the ventilation plant and climate control
- Functional check of all technical systems (SAT — Site Acceptance Test)
- Leak testing and pressure testing for containment laboratories
Handover
Formal handover is more than a handshake. It comprises:
Handover pack
- Acceptance walkthrough: Joint inspection with the client, checking all rooms and systems
- Documentation: As-built drawings, test reports, certificates, material data sheets
- Maintenance schedules: Intervals for ventilation filters, climate plant, fume cupboards and safety inspections
- Operating manuals: For all technical plant and laboratory equipment
- Briefing: Training of operating staff in use and safety procedures
After handover the laboratory is ready for operation. If required we offer a maintenance contract covering regular inspections, filter changes and testing of safety-critical systems.
A realistic timeline: what you can expect
The most frequent question deserves an honest answer. Here are the typical timescales, based on our project experience:
| Phase | Standard laboratory | Specialist laboratory (BSL/GMP) |
|---|---|---|
| Needs analysis | 1–2 weeks | 2–3 weeks |
| Technical planning | 3–4 weeks | 4–6 weeks |
| Permits | 2–4 weeks | 4–8 weeks |
| Manufacture | 8–10 weeks | 12–16 weeks |
| Installation & handover | 3–5 days | 1–2 weeks |
| Total | approx. 14–20 weeks | approx. 22–35 weeks |
Important: these timescales apply from the point of appointment. Lead time for the initial consultation and quotation phase comes on top. And: permitting is the largest uncertainty. In some municipalities a building application takes four weeks; in others, twelve. Early submission is therefore decisive.
Conventional construction compared
A comparable stationary laboratory in solid construction typically takes 12 to 24 months — from planning to commissioning. The modular approach shortens that span by 50–70%. The main reason: manufacture takes place in parallel with site preparation, rather than sequentially on the construction site.
Your checklist: what to clarify before the project starts
The better prepared you are, the faster and smoother the project runs. These points should be clarified — or at least thought through — before the first conversation:
Why Planexus as project partner?
There are several suppliers on the market who deliver lab containers. What sets us apart is the approach: Planexus is not a container manufacturer that builds laboratories on the side. We are laboratory planners who use the container as an intelligent construction concept.
As part of Wesemann Holding GmbH we combine laboratory-planning expertise with direct access to one of Europe’s leading laboratory furnishers. That means: planning, equipment and furniture come from a single source. No interface problems, no coordination gaps between container supplier and laboratory fitter.
Our reference projects show what we mean: from a mobile measuring station to a BSL-3 laboratory in a container — every project is planned individually and tailored to the client’s specific requirements.
Frequently asked questions about the lab container project process
How long does a lab container project take from first enquiry to handover?
Depending on complexity and specification, a lab container project typically takes between 12 and 20 weeks. Simpler configurations can be delivered faster; highly specialised BSL-3 or GMP laboratories need more lead time for planning and permits.
What should I prepare as the client for a lab container project?
Ideally you will have the following to hand: intended use and laboratory type, required floor area, biosafety level, available site connections (power, water, drainage), desired timescale and whether a building permit is already in place. Everything else we clarify together during the needs analysis.
Does a lab container need a building permit?
It depends on the federal state, how long the unit will stand and the type of use. Temporary installations of under three months are permit-free in some German states. Permanent use generally requires a building permit or a building notification. Planexus supports you in clarifying the position and submitting the application.
Can I still change the lab container during manufacture?
Minor adjustments are possible in the early manufacturing phase. The further production has progressed, the more involved changes become. That is why we put so much emphasis in the planning phase on agreeing every detail — so that costly rework does not arise later.
What happens at the handover of a lab container?
Handover includes a full functional check of all technical systems (ventilation, electrics, media supply), a walkthrough with the client, handover of the documentation (test reports, maintenance schedules, operating manuals) and briefing of the operating staff.
How is the lab container transported to the installation site?
Lab containers are typically delivered by low-loader or heavy-goods transport. Depending on size and weight, special permits and a police escort may be required. Logistics planning — including access checks, crane positioning and an unloading concept — is an integral part of every project.